Maybe you’re a food blogger posting an image of your favourite apple pie to go along with a recipe — a web designer, using an illustration to make a complicated idea easier to understand — or a photographer, adding an image to your portfolio so that when people search for someone to hire in the area, your website and your work will look their very best.
But have you ever clicked on the Google Image search only to be left frustrated and wondering why your photo doesn’t show up on the first page or even, the 100th page?
Posting images to your site is wonderful and a great way to get yourself, your work and business out there. But it’s even better when those images you’ve chosen to showcase are well-optimized for search engines. Doing so will help you to drive direct traffic to your blog or your website from an image search.
And just may result in you venturing to that Google image search and finally finding your own photo at the top!
It might seem like a complex idea that’s better suited for your SEO guy or gal to handle, although if you’re looking to save some money while still promoting your business or product in the best way possible, there are some simple, tried and true practices you can follow for SEO friendly images.
Read on for tips and inspiration that will help you to easily get your images found, seen and appreciated!
Images should be related to the topic
When Google is looking at your site, images that match the text make a stronger case for the relevance of your page to the topic. Say that you’re posting a blog on wildflowers of the Pacific Northwest, for example. If you’re not posting your own images, a quick venture to Shutterstock will yield some beautiful and thematic results.

Quick tip: Try to avoid abstract meaningless images. Choose something closer to life and real experience instead
Whether with your own photos or with stock photos, the idea is to choose carefully and with intention. Posting that Pacific Northwest wildflower for your article on the same topic instead of one from your out-of-state backyard is always the best way to go.
Title and caption
The title of the image is displayed when the reader scrolls over the image on your blog. This doesn’t mean you have to overdo it, but it does mean the title should be descriptive and include a good target word. If you’re uploading quickly, chances are you may end up with a title that looks something like, “IMG_372.”
And it’s easy to end up with hundreds of photos like that, all with similar file names.
If you’re posting a photo of a cat, for example, the title given by your camera may read, “IMG_20” but the title that will be more beneficial to you, as the website owner looking for optimized searching, might be something more along the lines of “Cat in a Christmas Sweater.”
When it comes to SEO, it’s crucial that you take the extra few seconds to come up with a good title for your image. This will help your webpage rank on search engines, as keyword rich file names are important (actually, necessary) for image optimization.
Likewise, the caption displayed directly below the image has an ability to hold an anchored link. So this is great to keep in mind, too.
Name and alt tag
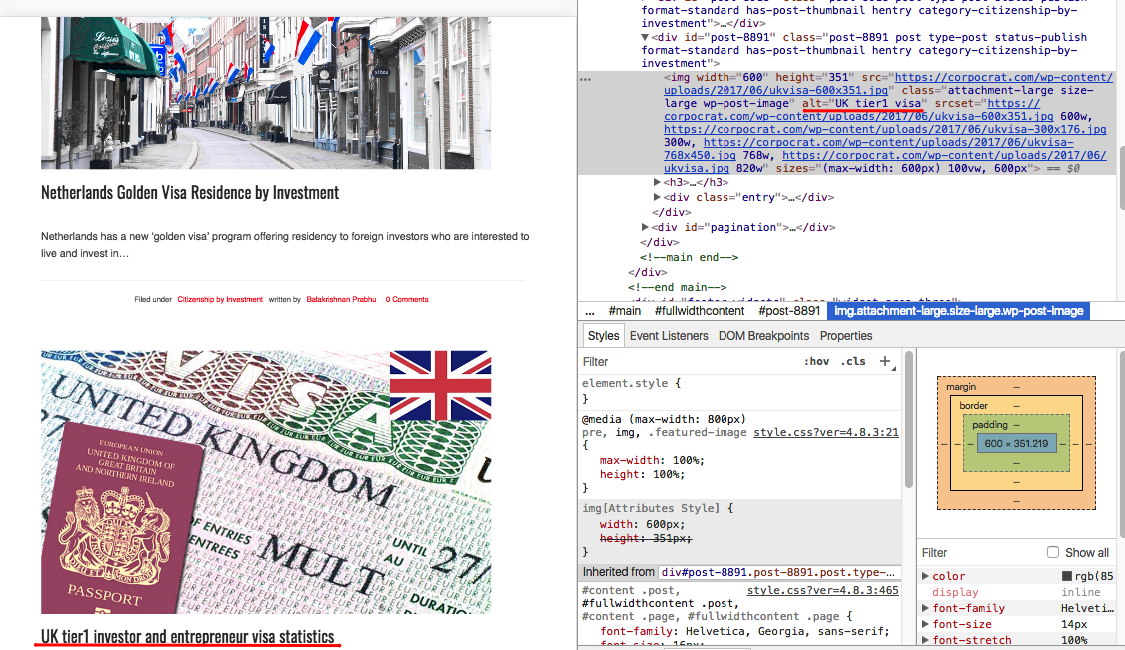
Alt Tag tells Google what your picture is all about. It should explain what the image is and include your primary keyword. For this same reason, there is a time when you don’t want to use an alt tag. When an image only serves a design purpose (such as a divider) leave the tag blank and the screen reader won’t disrupt your message by describing every design element.

Loading speed
Page content and size of that content is one of the primary contributing factors to slower web page speeds. Google gives preferences to pages that load quickly over slower pages. So, to make sure your loading speed isn’t weighed down, make sure that your content isn’t uploaded in too high of quality. An image that’s 20MB, for example, is going to take much longer to load than an image that’s 1MB. A good rule of thumb is to choose the smallest file size possible without sacrificing quality.
If you’re using WordPress, there are even plugins that offer to automatically do the work for you. When you upload an image, they compress it and optimizes your file size. You can also use sites like Kraken and Imagify (which offers a good compromise for the quality of an image and the size of the file).
And luckily, if you’re looking to check the speed of your website, there are lots of tools available to do so on the web. You can even use a free Website Speed Test that will analyze the load speed of your website and give tips on how to make it faster.
You can also use Google PageSpeed Insights to measure your website’s loading time. To use it, simply type your URL into the on-screen box and press the “analyze” button.
Resizing the image
Resizing the image changes the size of it while still maintaining the same width to height ratio. This is important when it comes to continuity and the user experience on your website (that will keep your viewers coming back for more visits).
There are lots of ways to easily resize your image, including free sites online like resizeyourimage.com and ing-resize.com.
Image format
The three most common file formats are JPEG, GIF and PNG. But which file format makes the most sense for you?
JPEG is the most commonly used format. One of the biggest advantages of the JPEG format is that it keeps the file sizes small and is supported virtually everywhere.
GIF is a bitmap image format that is used for things like animations and art. It’s not typically recommended for photographs, as it supports only about 256 colors. It’s good for the logo, as it supports transparent backgrounds (unlike JPEG). It can also be used for thumbnails and certain decorative images on your website.
PNG is today’s alternative to GIF and JPEG. It has a better color range, supports transparency, and can store short descriptions of text that relate to your image (meaning it helps when it comes to search engines). But, because it’s a newer format, it isn’t as supported as other formats.
Create Image Sitemap
Creating an image sitemap increases the likelihood that your image will be found in Image Search results. Google image extensions for sitemaps, for example, gives Google more information available on your pages. Image sitemap info will help google to discover images that it otherwise might not. Give this link a peek for more information, and find out how to list 1,000 images for each page using a syntax outline example.
Try to use your own images
When it comes to images, using your own photos or illustrations is always the best bet (carefully selected stock photos can do the trick, too). As viewers, we look for images that are useful to our understanding of the content, relevant and generally a pleasure to view. A blurry photo full of grain, for example, tends to be less pleasing to the eye than a non-blurry photo that’s sharp. Luckily, today, there are a variety of easy to use photo editors that can quickly improve your images and make them look professional (even if you’re not a professional photographer). Luminar, for example, is referenced as an editor that adapts to your style and skill level — and offers a variety of creative filters. If you’re not ready to use editing software, free online editors are a good place to start, too. In the end, a good photo tends to do better overall when it comes to Search Engine Optimization.
Use Google Webmaster Guidelines
If you’re looking for further help on optimizing your site for search engines, it pays off to give Google Webmaster Guidelines a visit. It includes detailed information about a range of topics and is a great asset to check out.
Whatever your profession or business and whichever type of image you’re looking to get seen, our hope is that these tips help you understand the best practice for SEO friendly images.
From a photo of your little girl running around on the soccer field for your own blog, to an illustration of a marketing idea for your creative agency’s site, keeping these ideas in mind before you post will help to optimize your photo and drive traffic to your website.
Overall, the idea is simple: keep the user experience in mind with good quality photos and organized content. From creating image sitemaps to choosing the right format to make sure your titles and captions are descriptive and engaging — there is a lot that you can do to start improving your SEO today.
Best of luck getting your images out there and into the world wide web!

